Quickly learn Linux – Virtualbox Linux
Virtualbox Linux
I’ve been using VirtualBox for quite a while, especially for Linux servers (what I mean by Virtualbox linux). It’s generally the first hypervisor I’d recommend running on windows as a test environment. It’s not the best performance wise, but I hope you’re not looking for performance out of something like this anyways. This is just a tool to test things out with quickly and easily. I always recommend it to beginners as a quick simple way to learn some linux and maybe some networking.
This post and the next one are a good place to start before moving onto the highly recommended r/linuxadmin post.
![]()
What we’re going to do
- Install Virtualbox, Putty, and download .iso
- Create VM
- Configure VM
- Launch and install CentOS
- OpenSSH and how to access your server
Getting started Virtualbox Linux
First you should go download and install Virtualbox.
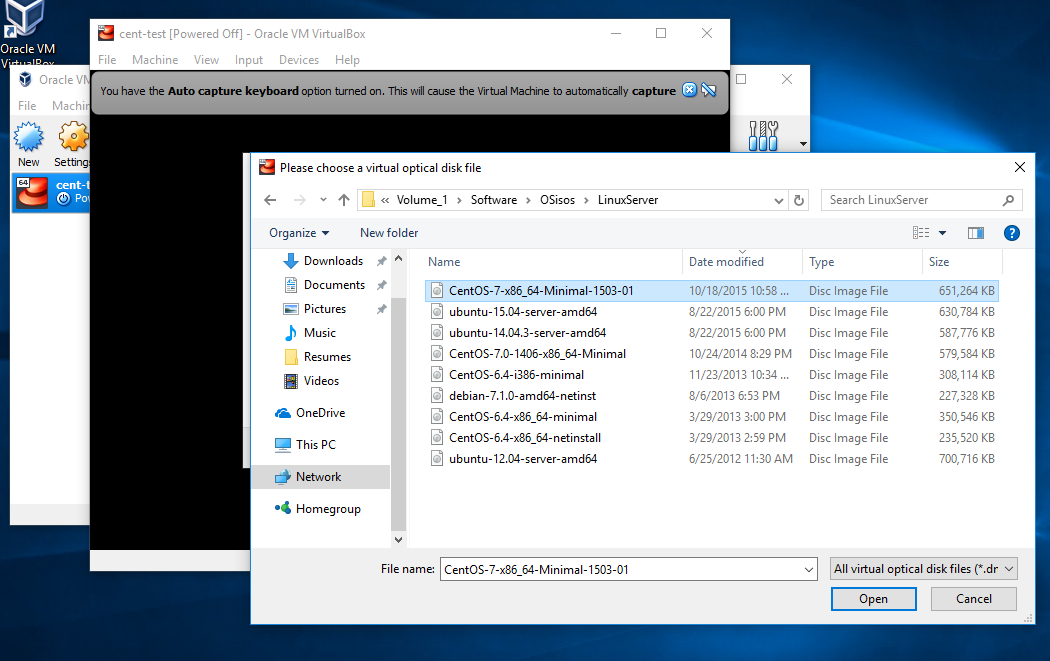
You will also need to grab the linux iso of your choice, for this post we’re going to go with CentOS 7.X
Install Putty now to later access the VM.
Once you have Virtualbox installed and your linux .iso file downloaded you’re ready to go.
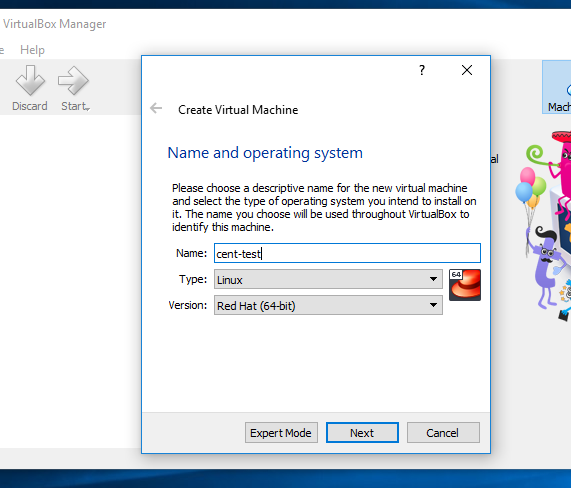
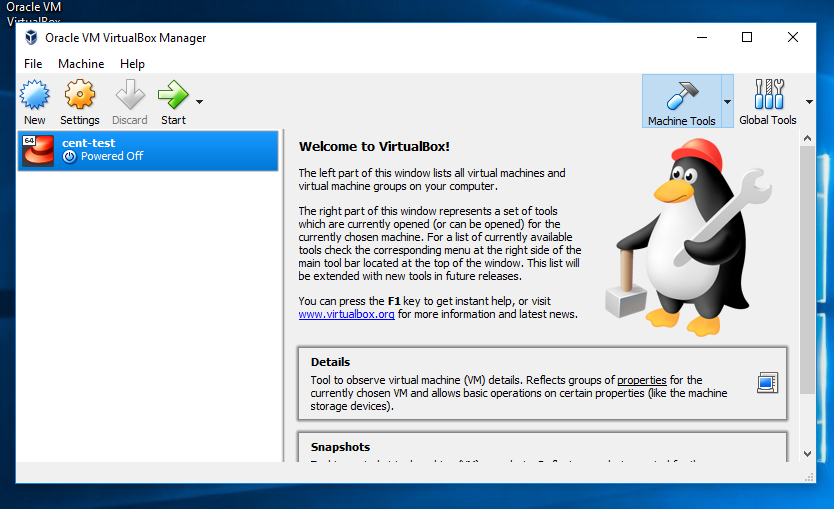
Create VM
- Click new to create a new VM
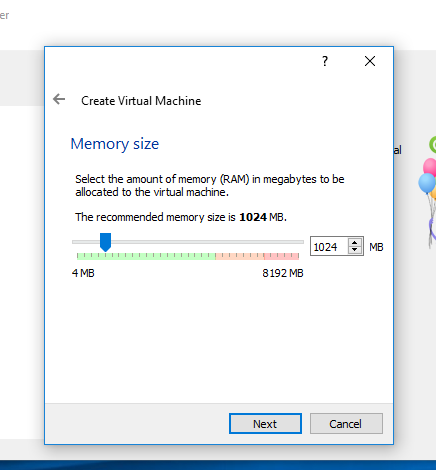
- Set memory size of new VM
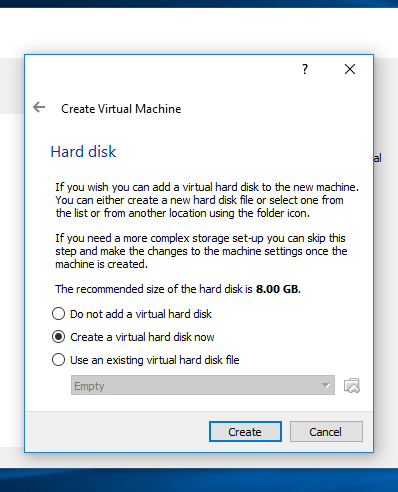
- Make or Select a Virtual Hard Disk (We’ll make one)
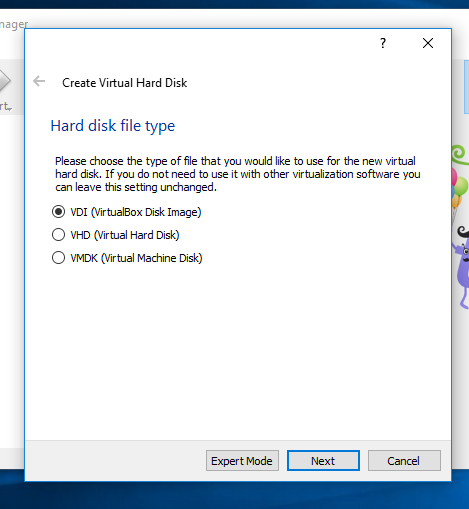
- Select Hard Disk Type
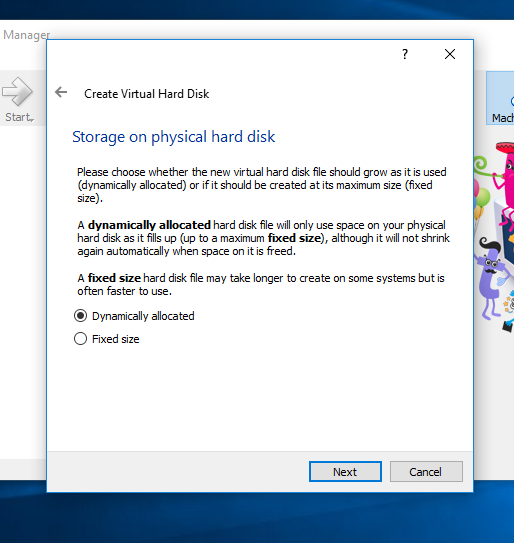
- Fixed or Allocated Space (We’ll go with Fixed)
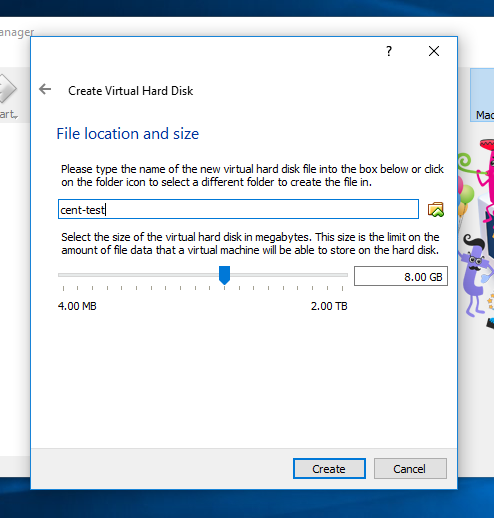
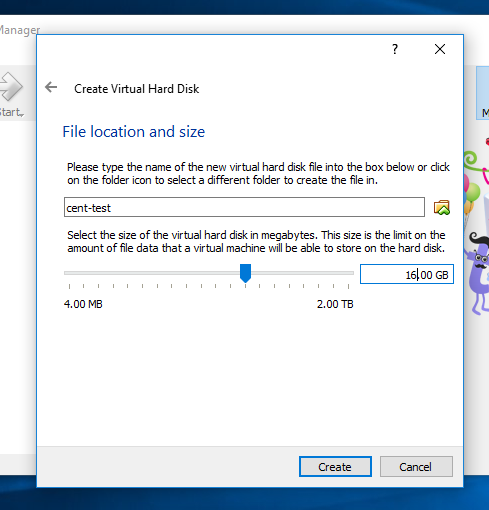
- Size and Location (to follow along, increase to 16GB)
Step by step pictures to go with the above.
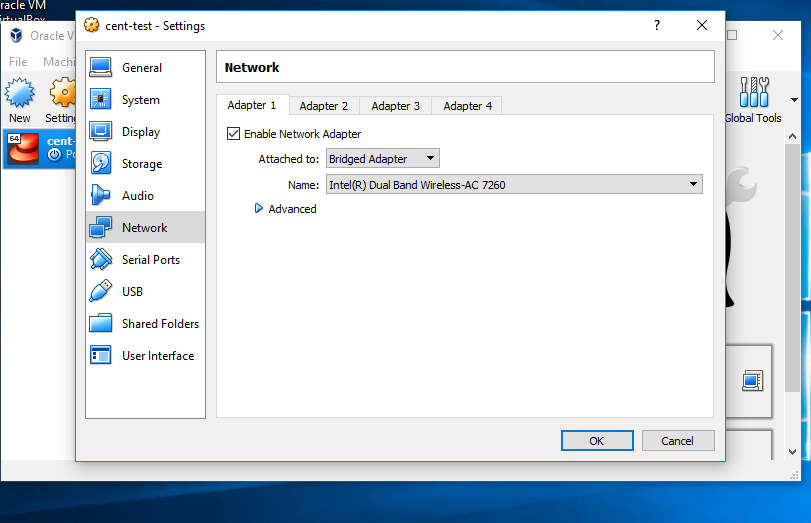
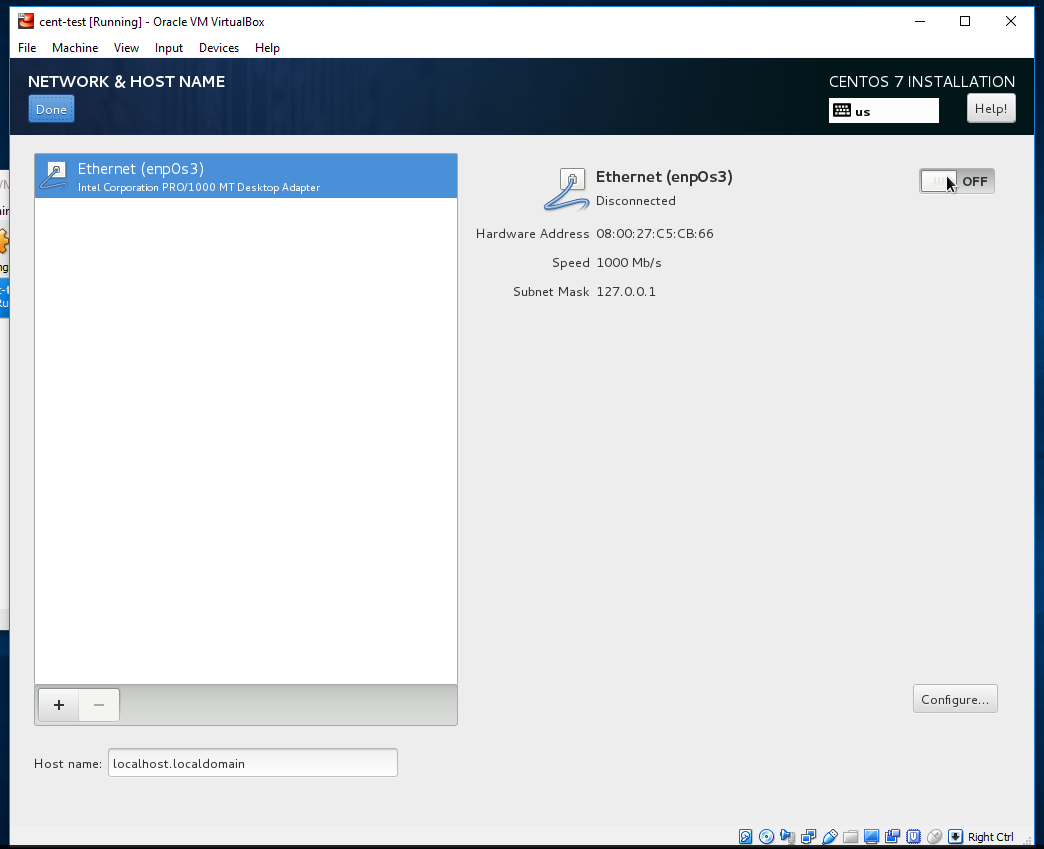
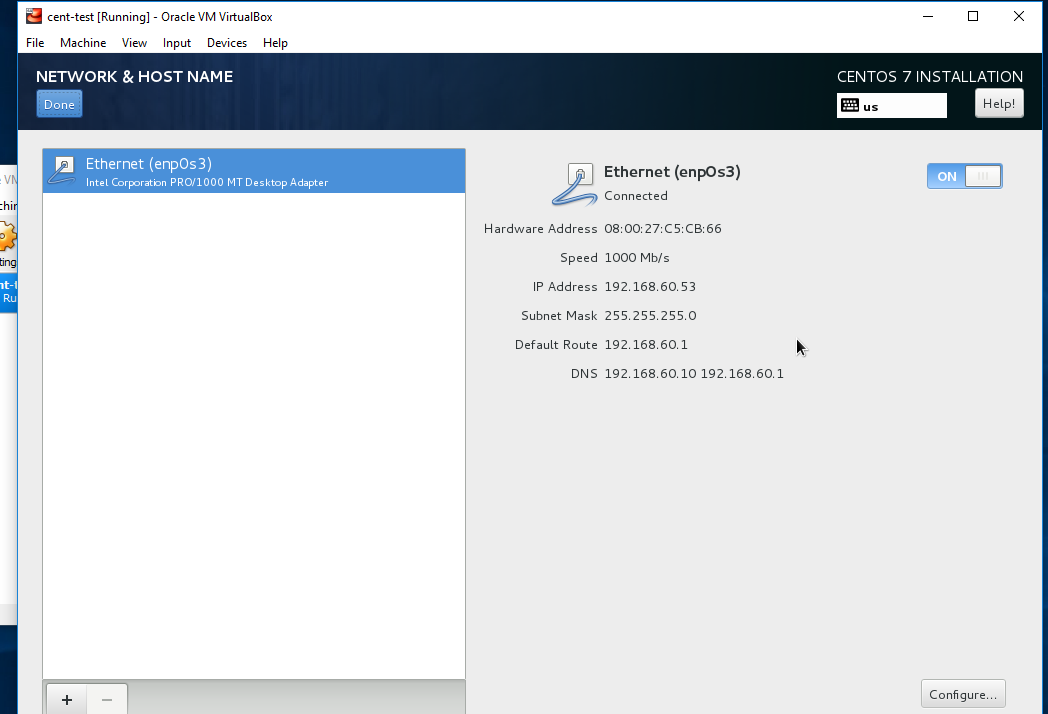
Configure VM
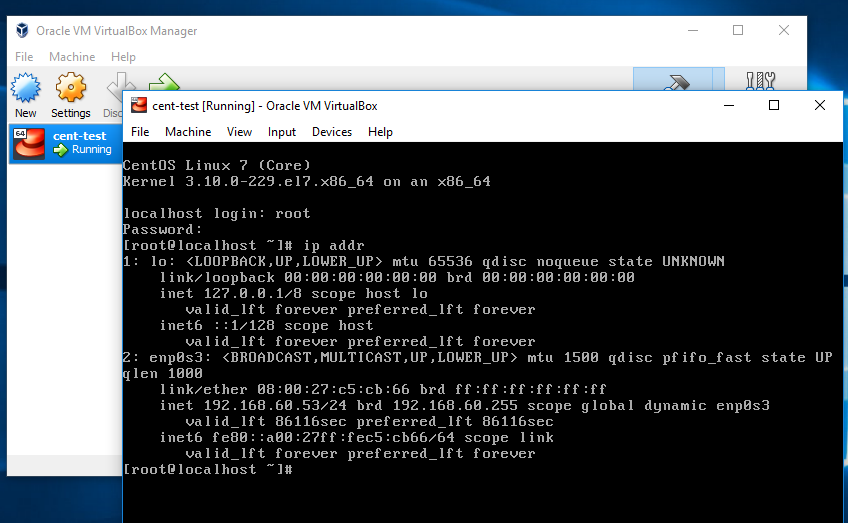
Now this next step is important before starting your VM. To keep things easy we’re going to setup the network connection as a bridged connection. This will allow your VM to hop right onto the network your hypervisor host machine is running on. For instance my laptop is at 192.168.60.3 currently, so I’m going to assume this network is in the 192.168.60.0/24 cidr block and I will get and ip address between 192.168.60.0-182.168.60.255. It’s possible your network is different but you can likely assume the same. We’ll login through the VM’s console to get the ip address anyways.
Let’s right click on our VM in virtualbox and select Settings…

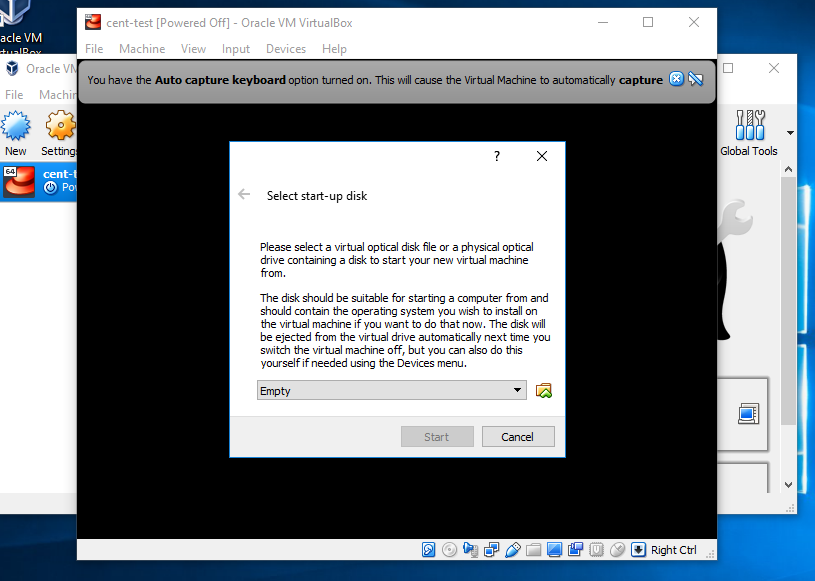
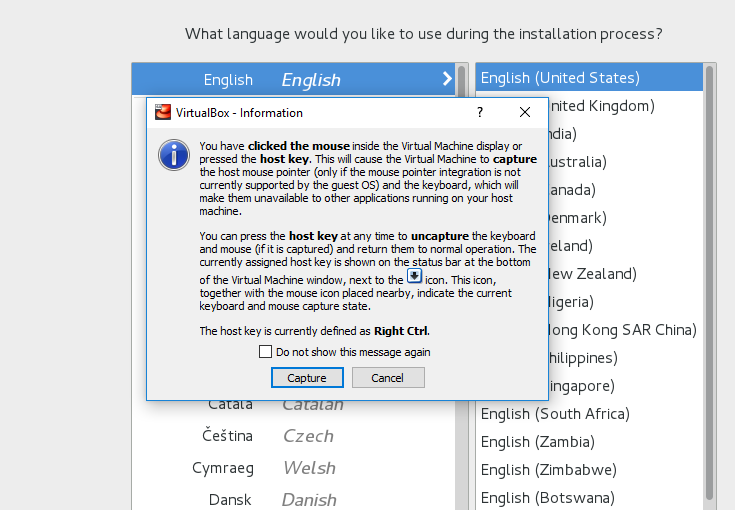
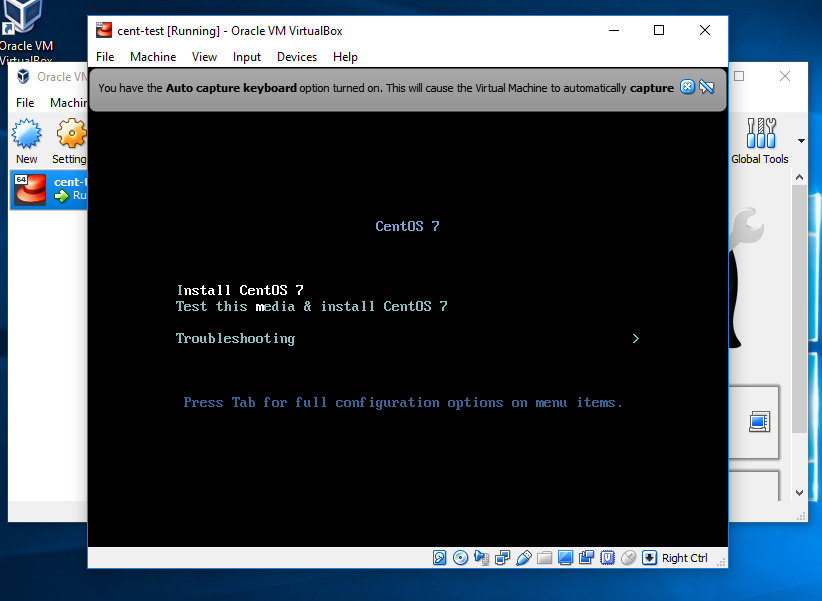
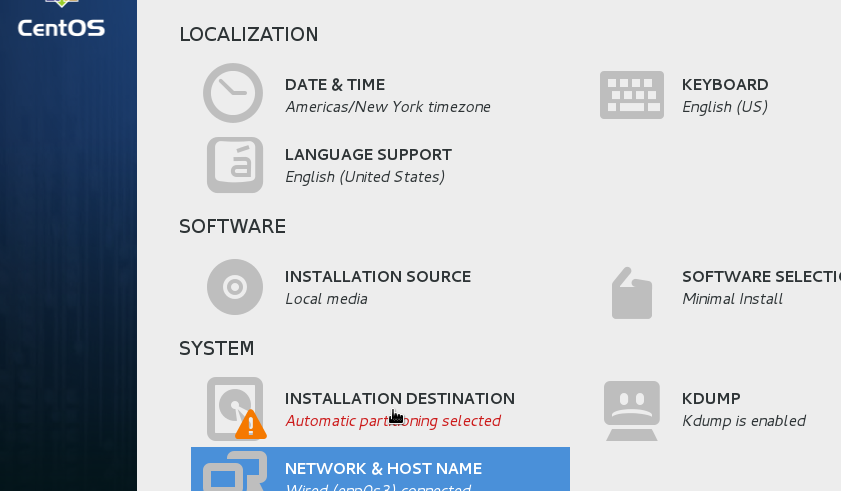
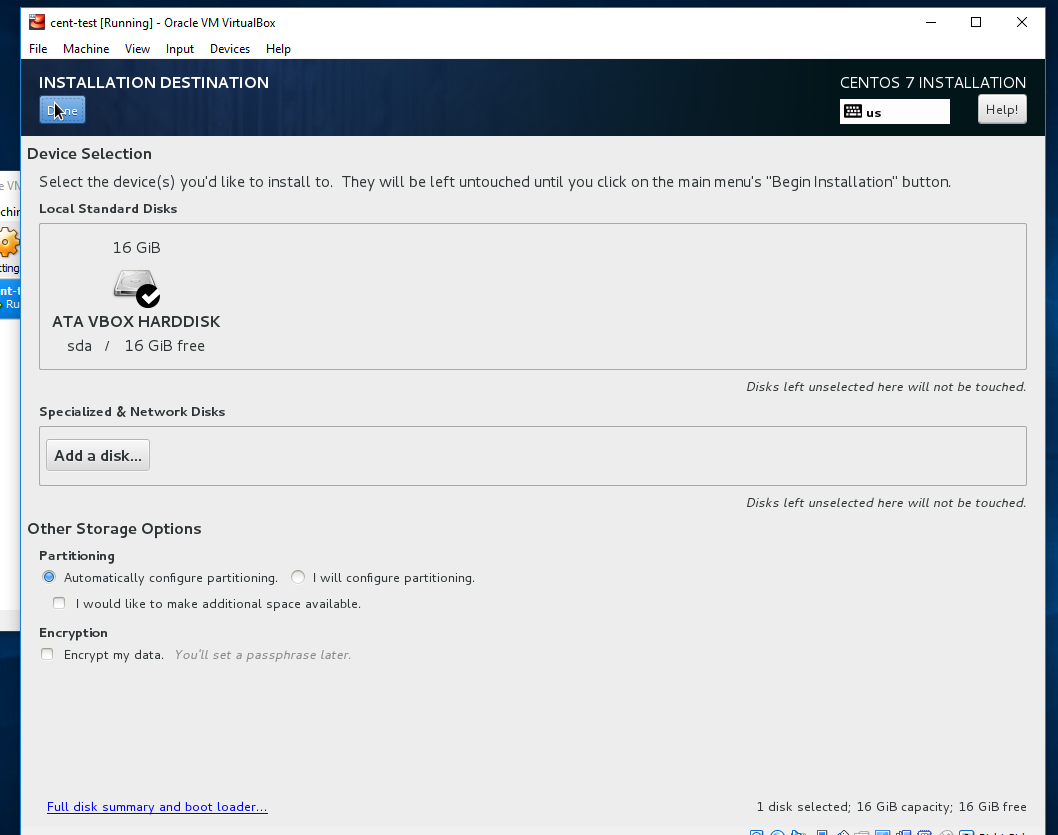
Launch and Install CentOS
Now we’re going to get into the meat and potatoes of the Linux install. This is pretty straight forward and we’re just going to go with mostly default options. Double click your VM when you’re ready to start, or select it and start it.
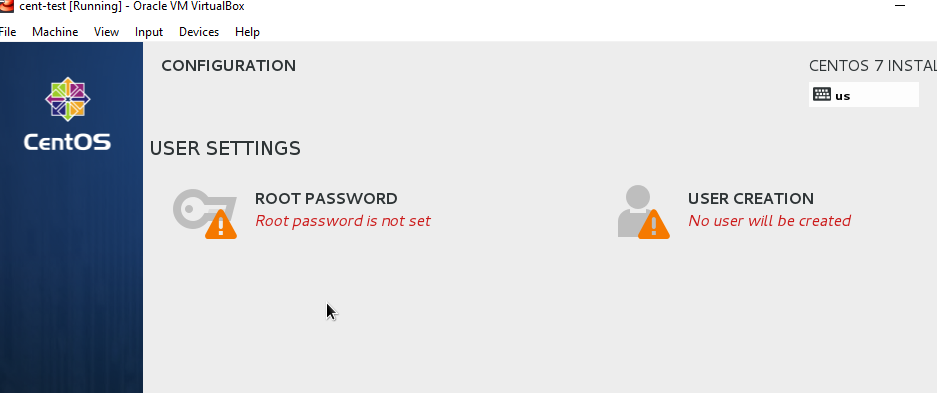
This is mostly a step by step operation, so just follow along with the images.

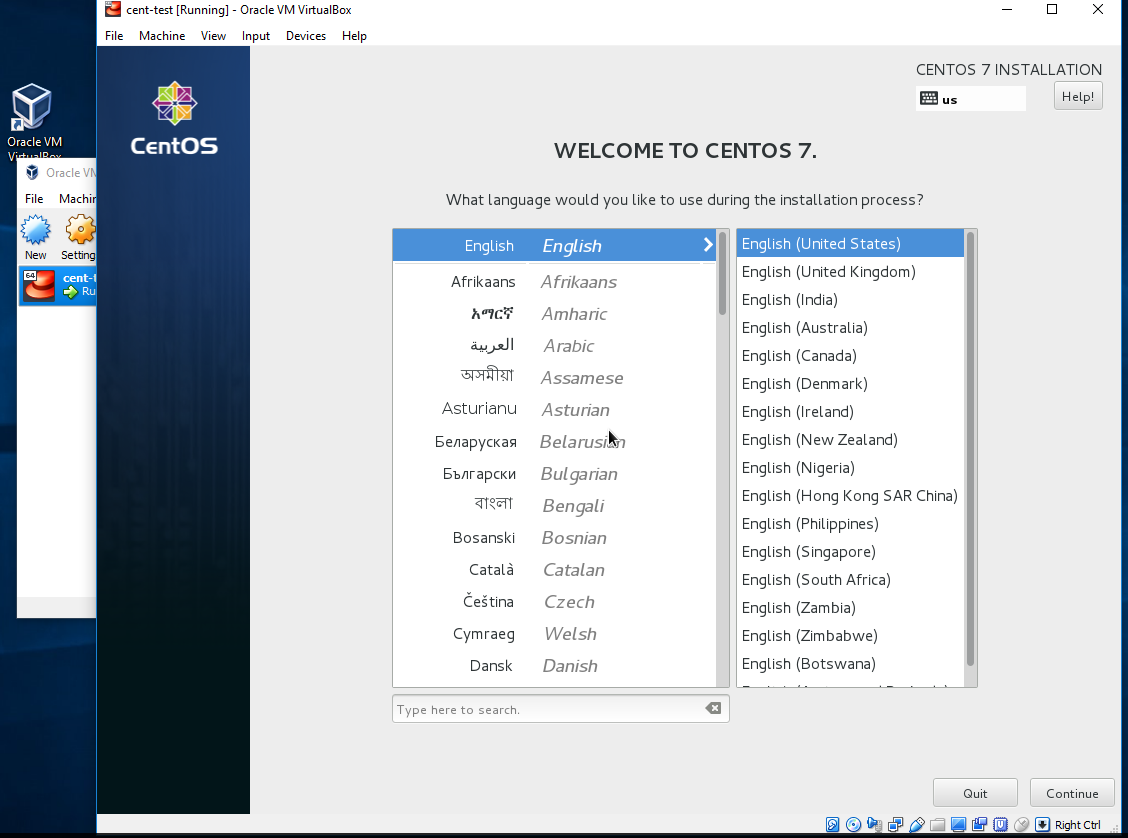
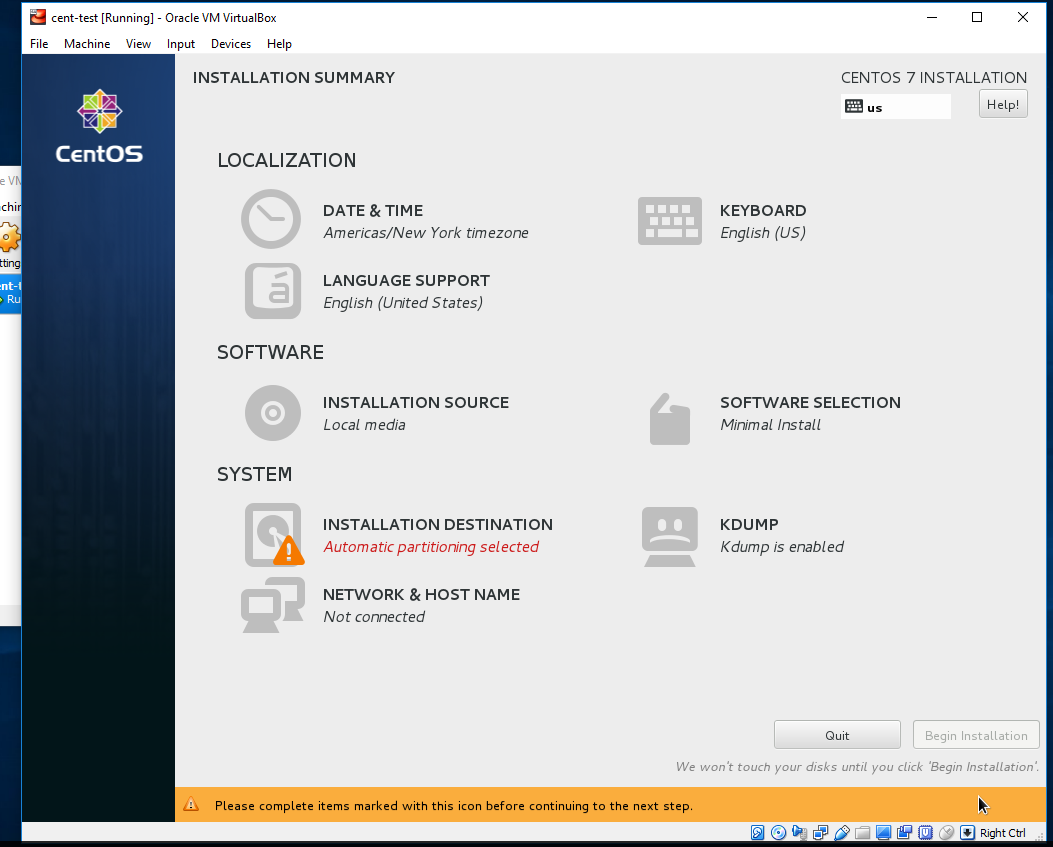
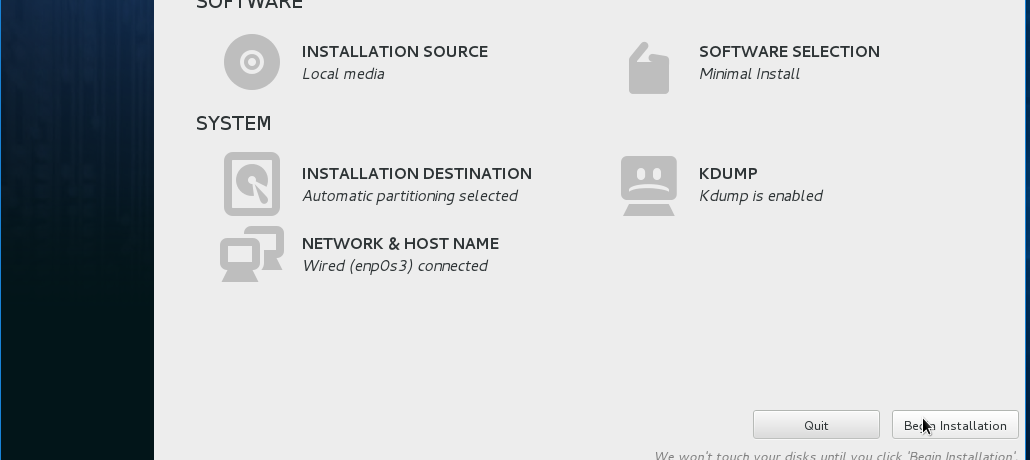
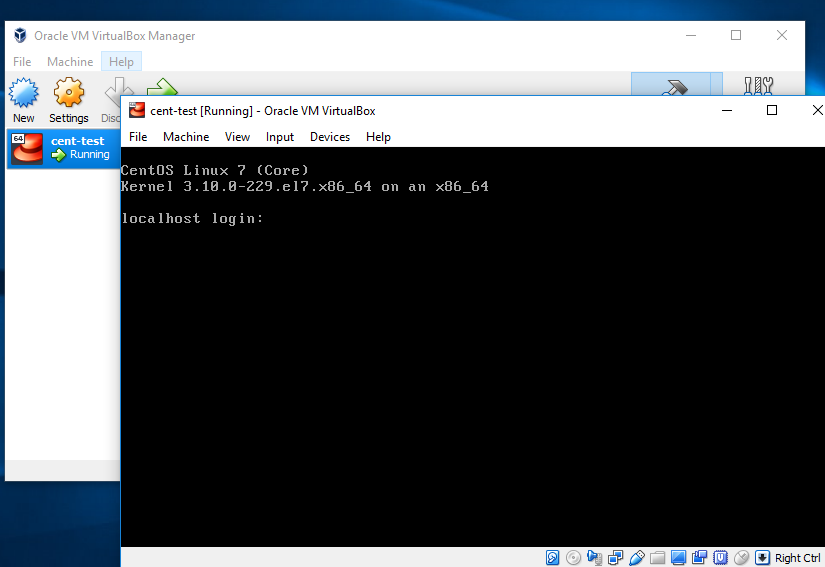
Once you have finished these steps the install will continue until it is complete. On completion you will be asked to reboot. Click reboot to move on.
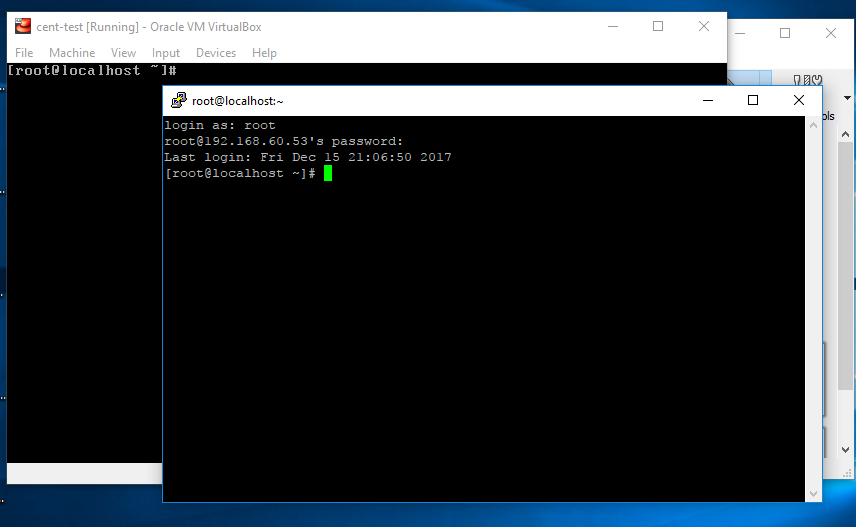
OpenSSH and how to access your server
You’re now going to access this server with SSH using Putty. First we’re going to login to the VM by selecting the window and using the console. It sucks using the console because it’s not as easy to copy and paste and an ssh client has many more options. So click into the VM window and let’s start.
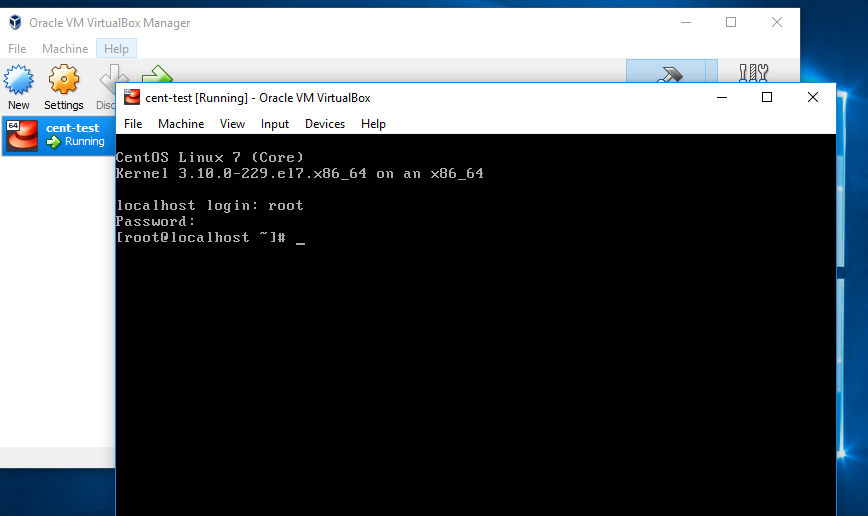
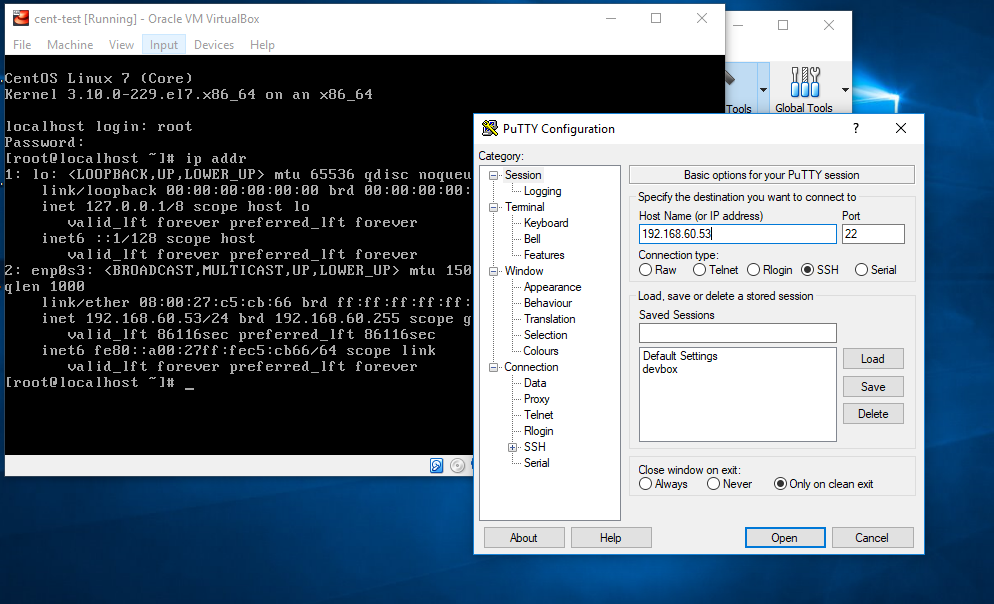
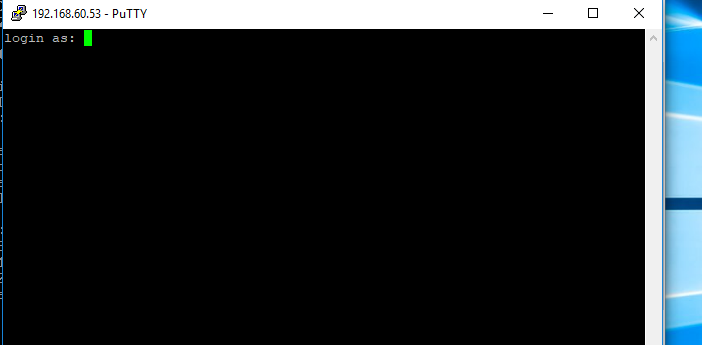
Now we’re going to want to login to OpenSSH with Putty. OpenSSH default port is port 22, so leave that alone in Putty. We just need to input the IP address of the VM and we can start the login process.
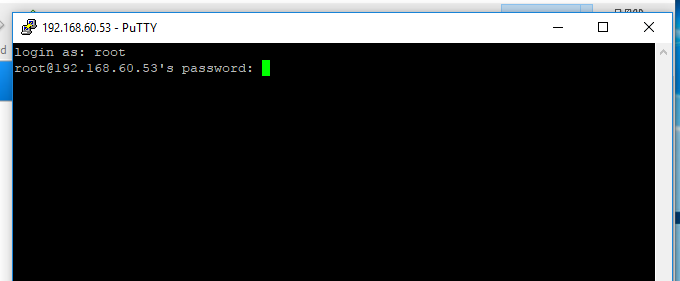
Right around now is when it’s generally best practice to create a new user that’s not root and to assign privileges. In some cases we use centralized identity services to do that for us (Active Directory, FreeIPA, LDAP, etc.) It’s also best practice to turn off password based remote logins, but since we’re not opening this connection up to the internet and it’s only open on your local network, you should be fine.

Conclusion
You’ve now successfully installed Linux in a Virtual Machine. Virtualbox Linux is a great introduction into Linux server administration as well as hypervisors and virtualization. After you run through this you should try to learn a few basic commands (general: ls, cd, cat, echo, cp, mv, mkdir. remote (you’ll need another linux vm for these): ssh, scp. advanced: awk, sed. file-edit: vim, nano, vi. command line basics: piping, directing output) Also learn the basic linux file structure
After you run through the commands with nothing to do, you should look into how to deploy other software. My next post we’ll run through what I give all jr admins and jr developers to do as a first task. If you’re straight out of college in a CS/CE program or just looking for a software/it career, this is a great exercise. We’re going to setup a mediawiki site.